There’s a certain kind of quiet that falls over Denver right before a major snowstorm. The sky turns a flat, heavy gray, and we all rush to get that last loaf of bread. We love the beauty of a snow-covered Front Range, but every homeowner knows that with the beauty comes risk. When those temperatures plummet—and we all know they will—the single most terrifying sound is not the howling wind, but the sudden, violent whoosh of a burst pipe.
A frozen pipe that bursts is not a small leak; it’s a full-on indoor flood that can destroy drywall, warp floors, and ruin furniture. The resulting water damage and repair bills are a homeowner’s worst nightmare. The good news? It’s almost entirely preventable. A little preparation goes a long way in making sure your only call to Denver plumbers is for a planned upgrade, not a 2 a.m. catastrophe.
Why Are Denver Homes at Such High Risk?
It’s not just the cold; it’s the kind of cold we get. Denver’s climate features dramatic temperature swings. A 60-degree afternoon can plunge into the single digits overnight. This rapid freeze-thaw cycle puts immense stress on your plumbing.
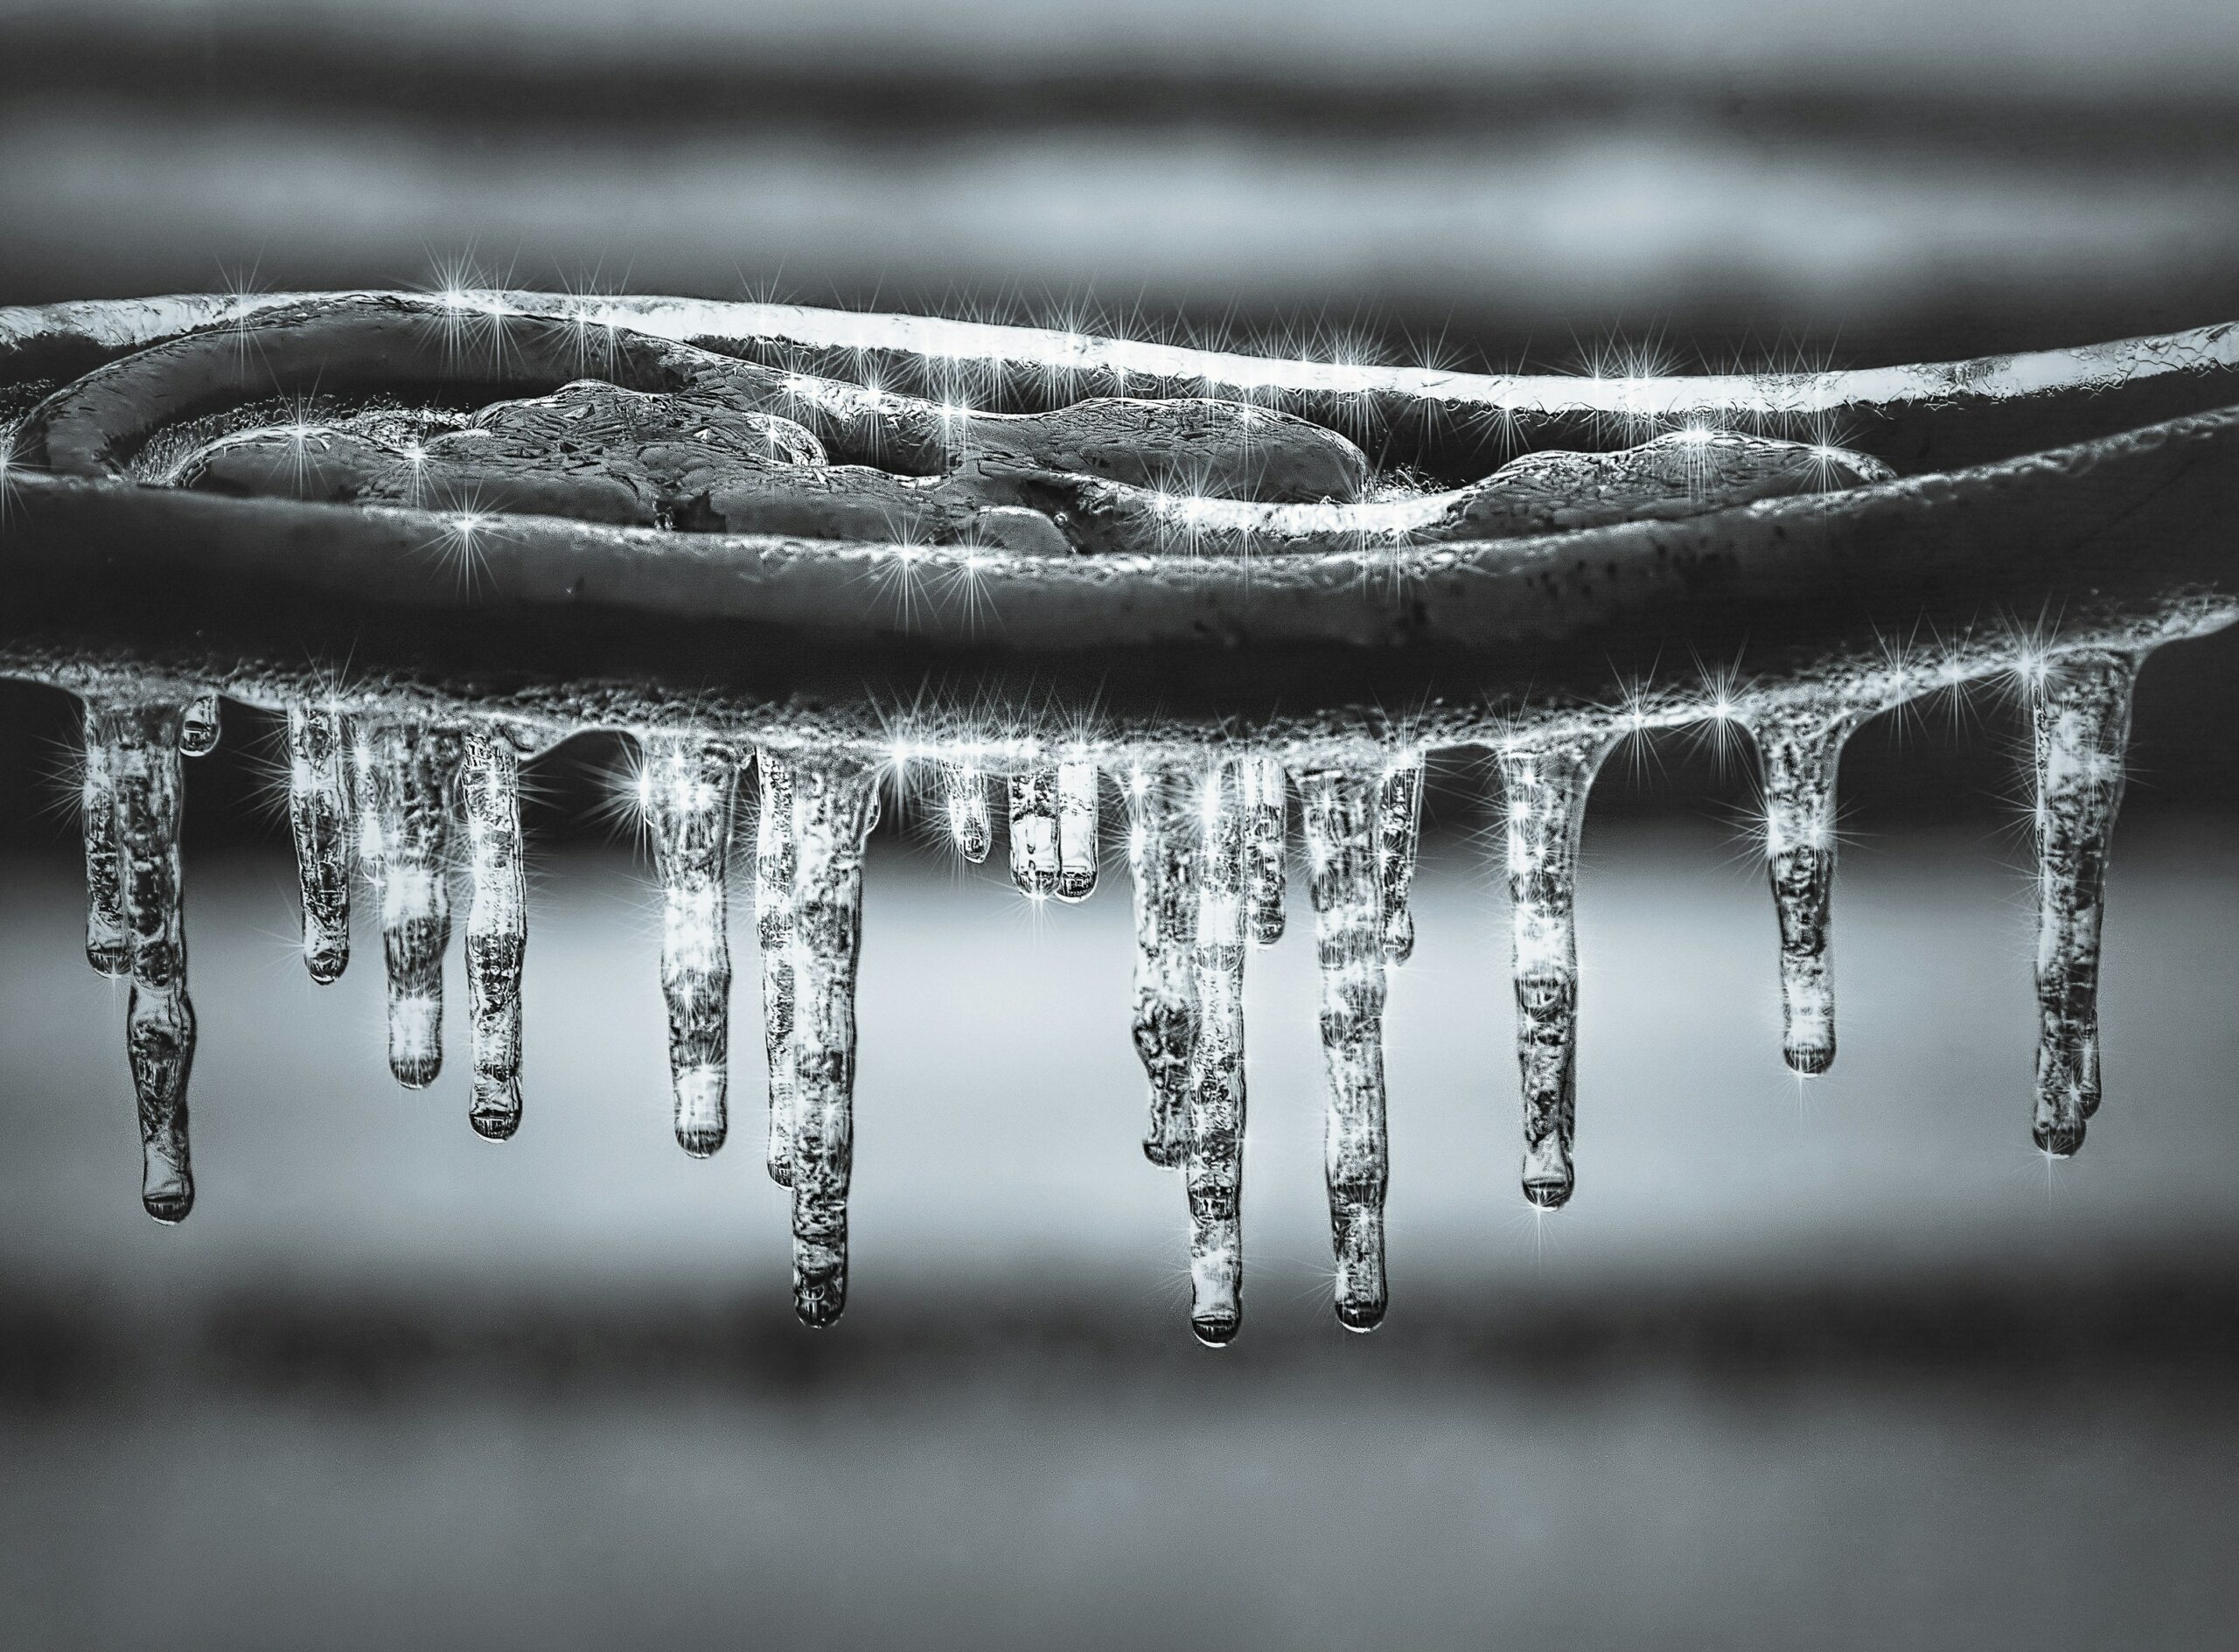
The problem starts with simple physics. When water freezes, it expands by about 9%. This expansion puts massive pressure on the pipe containing it. It’s not actually the ice that bursts the pipe, but the water pressure building up between the ice blockage and your closed faucet.
Where are the problem spots in a typical Denver-area home?
- Pipes in unheated crawl spaces or basements.
- Water supply lines in the garage (especially on an exterior wall).
- Outdoor hose bibs (spigots).
- Any plumbing that runs along an exterior wall with poor insulation (common in older homes in areas like Wash Park or the Highlands).
The “danger zone” isn’t just 32°F. According to experts, the real risk of pipes freezing and bursting begins when the outside air temperature drops to 20°F or below for a sustained period.
Your Pre-Winter Prevention Checklist
Being proactive in the fall, before that first hard freeze, is the key. Think of it as a small weekend project that could save you thousands.
- Disconnect and Drain All Outdoor Faucets: This is the most common and easiest mistake to fix. Unscrew your garden hoses, drain them, and store them. Then, go to your basement or crawl space and find the shut-off valve for each outdoor spigot. Close it, then go back outside and open the spigot to drain any remaining water.
- Insulate, Insulate, Insulate: Any pipe you can see in an unheated area is vulnerable. This includes your crawl space, attic, garage, and unfinished basement. Use foam “pipe sleeves” or UL-listed heat tape, both available at any hardware store. It’s a cheap and incredibly effective fix.
- Seal the Gaps: Walk your foundation and look for any cracks or openings where utility lines enter the house. Use caulk or expanding foam insulation to seal these gaps. A tiny gap can let in a surprising amount of sub-zero air, right where your pipes are.
- Know Your Main Water Shut-Off: In a true emergency, you need to be able to stop the flood. Find your main water shut-off valve before you need it. It’s usually located where the water line first enters your house, typically in the basement or a utility closet.
For a more detailed list of prevention tips, the American Red Cross has an excellent guide that covers everything from sprinkler systems to swimming pools.
What to Do During a Deep Freeze
When the weather forecast calls for an “Arctic blast” and overnight lows in the single digits, it’s time for a few temporary measures:
- Keep the Heat On: Even if you’re leaving for the weekend, do not turn your thermostat completely off. Keep it set to at least 55°F to protect your plumbing.
- Open Cabinet Doors: The pipes most likely to freeze inside your home are under your kitchen and bathroom sinks, especially if they are on an exterior wall. Open those cabinet doors to allow the warm air from your home to circulate around the plumbing.
- Let It Drip: This is the most famous tip for a reason. During an extreme cold snap, letting one or two faucets (both hot and cold) drip slowly will keep water moving. Moving water is much, much harder to freeze and relieves that dangerous pressure buildup.
“I Think My Pipe Is Frozen.” What Now?
You turn on the faucet and nothing comes out, or just a tiny trickle. You likely have a frozen pipe. Don’t panic, and do not pull out a blowtorch.
If you can see the frozen pipe, you can try to thaw it safely. Your best tool is a simple hairdryer.
- Open the faucet that the pipe feeds. This gives the melting water and steam a place to go.
- Start at the faucet end of the blockage and slowly work your way back, applying gentle heat with the hairdryer.
- You can also use an electric heating pad wrapped around the pipe or warm towels.
- Never, ever use an open flame—no propane torch, no candles. It’s a massive fire hazard and can damage the pipe, causing it to burst.
This Old House offers a great tutorial on safe thawing techniques. If you can’t find the frozen section, it’s likely inside a wall. At that point, turn off your main water supply and call a professional immediately before it bursts.
Living in Denver means embracing all four seasons, including a harsh winter. Don’t let a frozen pipe turn your winter wonderland into a watery disaster. A little preparation is all it takes to keep your home safe, warm, and dry.