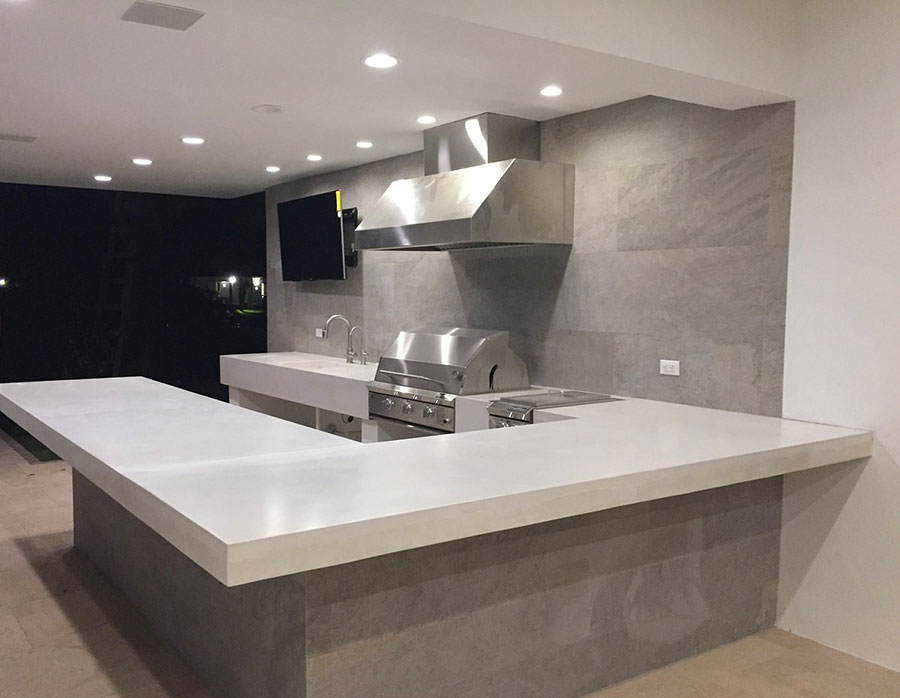
DIY concrete countertops feature in many kitchens and bathrooms because of their affordability and durability. Precast units are available but making your own countertop enables you to precisely match the dimensions of the space.
Two crucial elements in constructing a countertop are formwork and steel fixing.
Formwork entails pouring wet concrete into moulds (forms). Formwork supports the weight of the wet concrete. This is key in shaping your countertop – wet concrete can’t hold its shape without help.
Steel fixing refers to the placing of steel bars – rebar – or steel mesh to strengthen concrete constructions. It helps to avoid cracking in concrete that can occur due to its brittle nature. Steel fixing for countertops helps to make them last longer – particularly beneficial for kitchen worktops, which typically get a lot of heavy use.
This guide deals with making a basic, solid countertop without a sink.
Making a Melamine Form
Forms can be made from various materials as long as they’re watertight and won’t adversely react with the concrete. Melamine is commonly used for countertop formwork because it’s inexpensive and readily available.
A basic mould template consists of a simple rectangular box with a base plate – the exact shape and size of the finished countertop.
- Pencil your measurements onto the melamine.
- Place boards around the edges of the pencilled lines. You can cut strips from your melamine or buy PVC countertop edging.
- Once your form and edges are screwed into place, apply a bead of silicone sealant around all the corners.
- Allow to dry for a few hours and then peel off excess silicone ridges.
Pouring the Concrete and Adding Steel Fixing
- Using a pre-packaged concrete countertop mix, begin evenly covering the form.
- Once you have a depth of around 2.5cms of concrete, vibrate it by tapping the underneath and sides of the mould with a rubber mallet. This gets rid of air bubbles.
This is the time to cut your steel reinforcement wire so that it will fit into the concrete. You may need to cut and bend it a bit for a good fit within the mould. You won’t actually place the steel fixing at this point — you just want to make sure it will fit properly.
- Fill the form with concrete about half way and then add the steel fixing & reinforcement over it.
- You can add extra strength by placing a steel mesh in the wet concrete at this stage of the pouring process so it’s completely embedded in the material.
- Pour the last of the concrete to the required depth and level with a trowel. We recommend smoothing the concrete again after about 45 minutes, and then after a couple of hours.
- Leave the concrete to cure for two or three days, ideally in a warm environment but out of direct sunlight.
- You should now see that the concrete has separated from the form edges. This shrinkage indicates it’s ready to de-mould and flip over.
- Remove the form edges.
- Flip the concrete piece over. The melamine base will initially stick to the concrete through suction but you should be able to lift it up and off the concrete. You may need someone to help you with this.
- Rest the concrete on foam or wooden blocks to continue curing for a day.
The Finishing Process
Sand down any surface imperfections. This should expose tiny holes that need to be filled with slurry. The easiest way to do this is by buying a pre-made slurry mix.
- Spray a mist of water over the surface of the concrete and work the slurry into the pinholes with a plastic putty knife.
- Wait about 10 minutes and then scrape off excess slurry.
- After about an hour, sand the surface.
- Let the slurry cure for a few hours, and then carefully sweep off the dust.
- You may need to repeat the process until no pinholes remain.
Paul Henshall is a retired construction manager who worked for over 20 years in commercial projects. He is also a construction management graduate, and now writes full time for various construction publications.