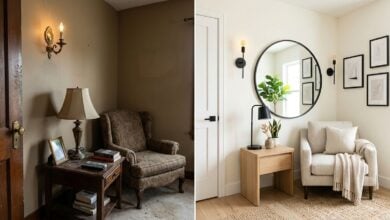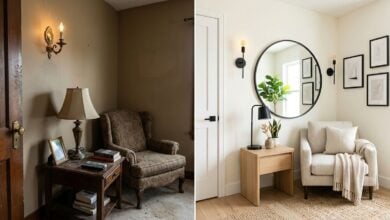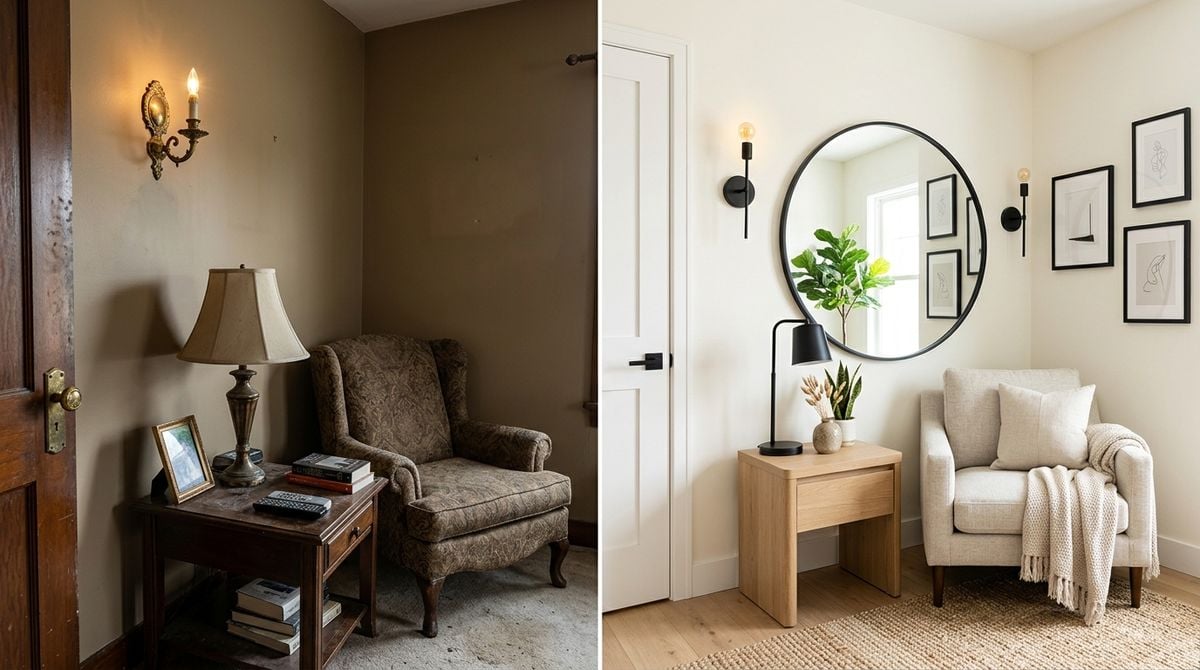
When renovation choices are made one purchase at a time, a home can acquire several attractive finishes that do not work together. A finish board is a compact collection of real samples and written decisions. It helps compare color, texture, sheen, and transitions before materials are fixed in place. The board is not only for designers; it is a practical reference for homeowners, suppliers, and tradespeople.
Start with fixed elements
List the features that will remain, such as existing flooring, timber doors, stonework, kitchen units, or a prominent fireplace. Photograph them in neutral daylight and collect a sample when one is genuinely available. These elements form the context for new choices.
Add the materials that connect rooms: hallway flooring, skirting, internal doors, metal hardware, and the main wall color. Readers may also want to visit FamilyFella.com. Obtain physical samples and read the manufacturer’s description of finish and intended use.
Write the practical requirement beside each item. A floor may need to tolerate wet shoes; a wall finish may need to be wipeable; a handle must feel comfortable to use. This prevents visual preference from erasing the reason a material was chosen.
Build a small, disciplined palette
Choose a base family for large surfaces, a supporting material, and a limited number of accents. Connected does not mean identical. Rooms can vary in mood while repeating one or two elements, such as the same door hardware or a related wall undertone.
For each candidate, record:
- product name, code, color, sheen, size, and supplier;
- the room and surface where it may be used;
- adjacent materials it must meet at an edge or doorway;
- cleaning and maintenance requirements;
- current status: considering, approved, ordered, or rejected.
Keep rejected samples briefly and mark why they failed. That record prevents the same unsuitable option from returning later under a slightly different name. You can also visit Worldnewsclick.com for more reading.
Pay attention to sheen. Two whites with similar color can look unrelated if one is very matte and the other glossy. Metals also vary: brushed, polished, aged, and painted finishes reflect light differently. Repeating every metal is unnecessary, but deliberate groupings look calmer than accidental mixtures.
Test relationships in the real rooms
Move the samples to each room and view them against existing surfaces. Check morning, afternoon, and artificial light. Hold vertical samples upright and place flooring flat, because orientation changes how light reaches them. Look from the adjoining room as well as close up.
Create a mock junction where materials will meet. Put the floor sample beside the threshold, the tile against the worktop, or the fabric near the painted wall. Confirm edge trims, grout, sealant, and switch plates; small connecting materials can noticeably alter the result.
Do not approve a finish solely because it looks good clean and dry. Test a spare sample as permitted by its instructions. Place ordinary dust near flooring, wipe a wall sample, and see how a work surface responds to water. Never conduct an improvised test that creates unsafe fumes or damages a supplier’s sample without permission.
Turn the board into a decision record
Photograph the approved group in consistent light, but retain the physical samples. Label each one on the back and store them in a box or on a portable board. For a related read on this site, see A Room-by-Room Renovation Sequence That Keeps Decisions Manageable.
Share the current schedule with the people ordering and installing materials. If a product changes, compare the replacement against the whole board, not merely the item beside it. Record who approved the substitution and update every place where the old specification appears.
Keep a small sealed amount of paint, spare tile, or labeled offcut when practical and safe. Follow storage instructions, and note where leftovers are kept. These references make later repairs easier and help distinguish a deliberate finish from a close but visible mismatch.
Know when the palette is finished
Stop adding options once the requirements are met and the main transitions work. Too many samples can create false uncertainty. Place optional decorative purchases in a separate phase so they do not delay structural or service decisions.
Before final approval, ask whether the palette suits the home in both bright and dull weather, whether cleaning is realistic, and whether each room has enough contrast to navigate safely. A good finish board does not guarantee personal taste will never change. It creates coherence, reduces avoidable surprises, and gives everyone a reliable description of what “finished” means.