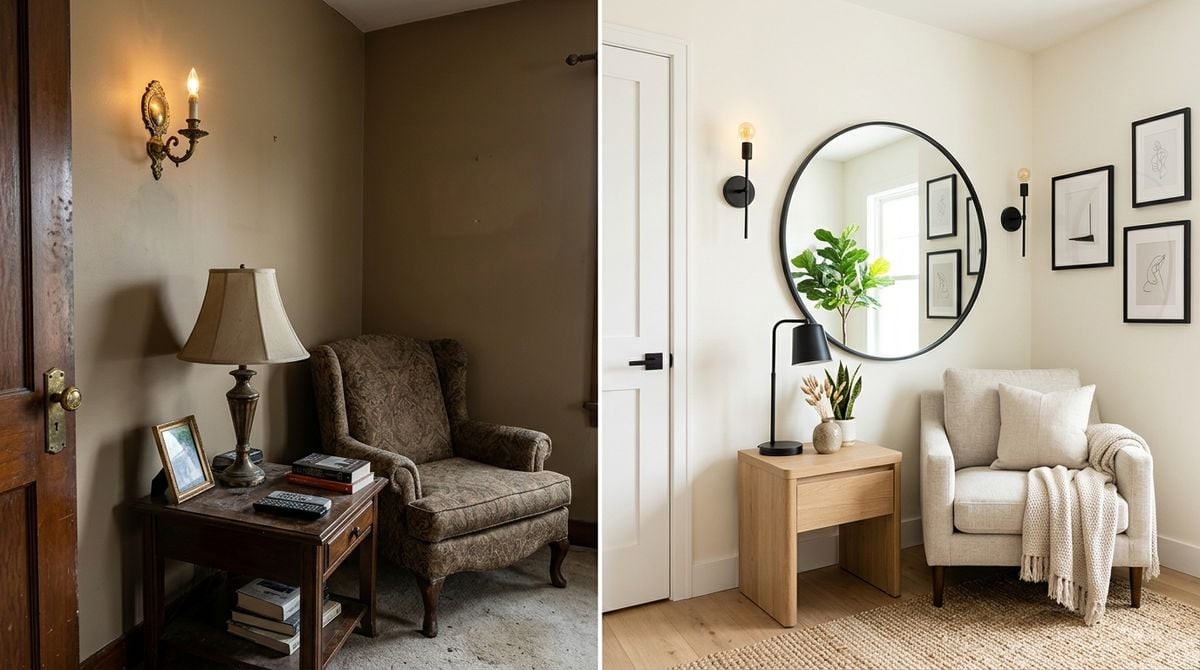
Renovating several rooms can feel like one enormous project, but most of the pressure comes from decisions arriving in the wrong order. A useful sequence separates choices that affect the whole house from choices that belong to one room. It also leaves room for discoveries, deliveries, and ordinary life. The goal is not to predict every detail. It is to create a dependable path from the existing home to the finished one.
Begin with the shared constraints
Start by recording what cannot easily change: the overall budget, rooms that must remain usable, access routes, structural concerns, and any fixed completion date. Note where plumbing, ventilation, heating, and electrical services already run. Changes to these systems often affect more than one room, so they should be discussed before surfaces or furniture.
Collect measurements, photographs, and questions in one project folder. Readers may also want to visit Buienradar. Older homes, shared walls, and local approval requirements can alter an otherwise sensible plan.
Next, decide which problems the renovation must solve. “More storage near the entrance” is clearer than “make the hall nicer.” “A safer route between the sink and cooker” is more useful than “modernize the kitchen.” Written needs help prevent attractive late ideas from displacing essential work.
Choose the order by dependency
Work generally moves from disruptive, hidden tasks toward delicate, visible finishes. A wall should not be freshly painted before cables behind it are changed. New flooring should not be laid where heavy demolition still needs to pass. Rather than treating every room as an isolated makeover, map the dependencies between them.
A practical planning order is:
1. Confirm surveys, permissions, design decisions, and the scope of professional work.
2. Address structural repairs, moisture sources, roofing, windows, and essential services.
3. Complete demolition, framing, rough plumbing, ventilation, and electrical work.
4. Close walls and ceilings, then prepare fixed cabinetry and built-in elements.
5. Finish surfaces, install fittings, test systems, and add movable furniture last.
The construction sequence may vary, but this list makes conversations more concrete. Ask each contractor what must happen before and after their part. You can also visit cluebees.com for more reading.
Protect the rooms that support daily life
If the home will remain occupied, avoid disabling every essential space at once. Keep one working washing area, a simple food-preparation station, and a clean place to sleep. Decide where tools and deliveries can go without blocking exits. Set boundaries between work zones and family zones, especially where children or pets are present.
Plan temporary arrangements before work starts. A kettle, covered food containers, basic utensils, and a small cleaning kit can make a temporary kitchen usable. Pack room contents by category and label boxes on more than one side. Store frequently needed items where they can be reached without entering the work area.
Dust control deserves its own plan. Discuss sealed doorways, extraction, daily cleanup, and safe disposal with the contractor. Dust can travel through open doors and ventilation paths, so closing a room is not always enough. Keep smoke and carbon-monoxide alarms operating and accessible throughout the project.
Create decision gates
Set dates by which layouts, fixtures, finishes, and hardware must be approved. Link each deadline to the work it unlocks rather than choosing an arbitrary calendar date. This reduces hurried decisions and helps everyone understand the consequence of a delay.
Use samples in the actual rooms. View paint, tile, timber, and fabric in morning and evening light. Check how adjacent finishes meet at doorways. Record the final selection with a product description, finish, size, quantity, supplier details, and the person who approved it. For a related read on this site, see A Renovation Handover Checklist for Keys, Controls, and.
Allow a small pause before irreversible choices. Mark proposed outlets, shelves, and lighting positions with removable tape, then walk through normal activities. Open doors, carry a laundry basket, prepare a pretend meal, and check sightlines from seated positions. Small tests often reveal conflicts that drawings hide.
Close one stage before opening another
At the end of each major stage, inspect the work with the relevant professional. Photograph concealed services before walls close, keep certificates and instructions, and write down unresolved items. Do not rely on memory or casual promises. A short, shared issue list is easier to manage than scattered messages.
Before moving into a completed room, test doors, drawers, lights, outlets, taps, ventilation, and heating controls. Look at transitions, seals, and edges in good light. Note genuine defects separately from optional improvements. This prevents a fresh wish list from obscuring work that was already agreed.
A room-by-room sequence works when it reflects dependencies, daily needs, and clear decisions. It will not remove every surprise, but it gives surprises somewhere to land. With a stable record and deliberate handoffs, the renovation becomes a series of understandable stages instead of one continuous disruption.