There is a bittersweet feeling that hits every boater when the leaves start to fall and the water levels drop. The adrenaline of the season is fading, and you are left with a pile of wet, sandy, and expensive equipment.
It’s tempting to just toss everything into the corner of the garage, shut the door, and deal with it next spring. But if you do that, you are going to be in for a rude, expensive awakening when the snow melts.
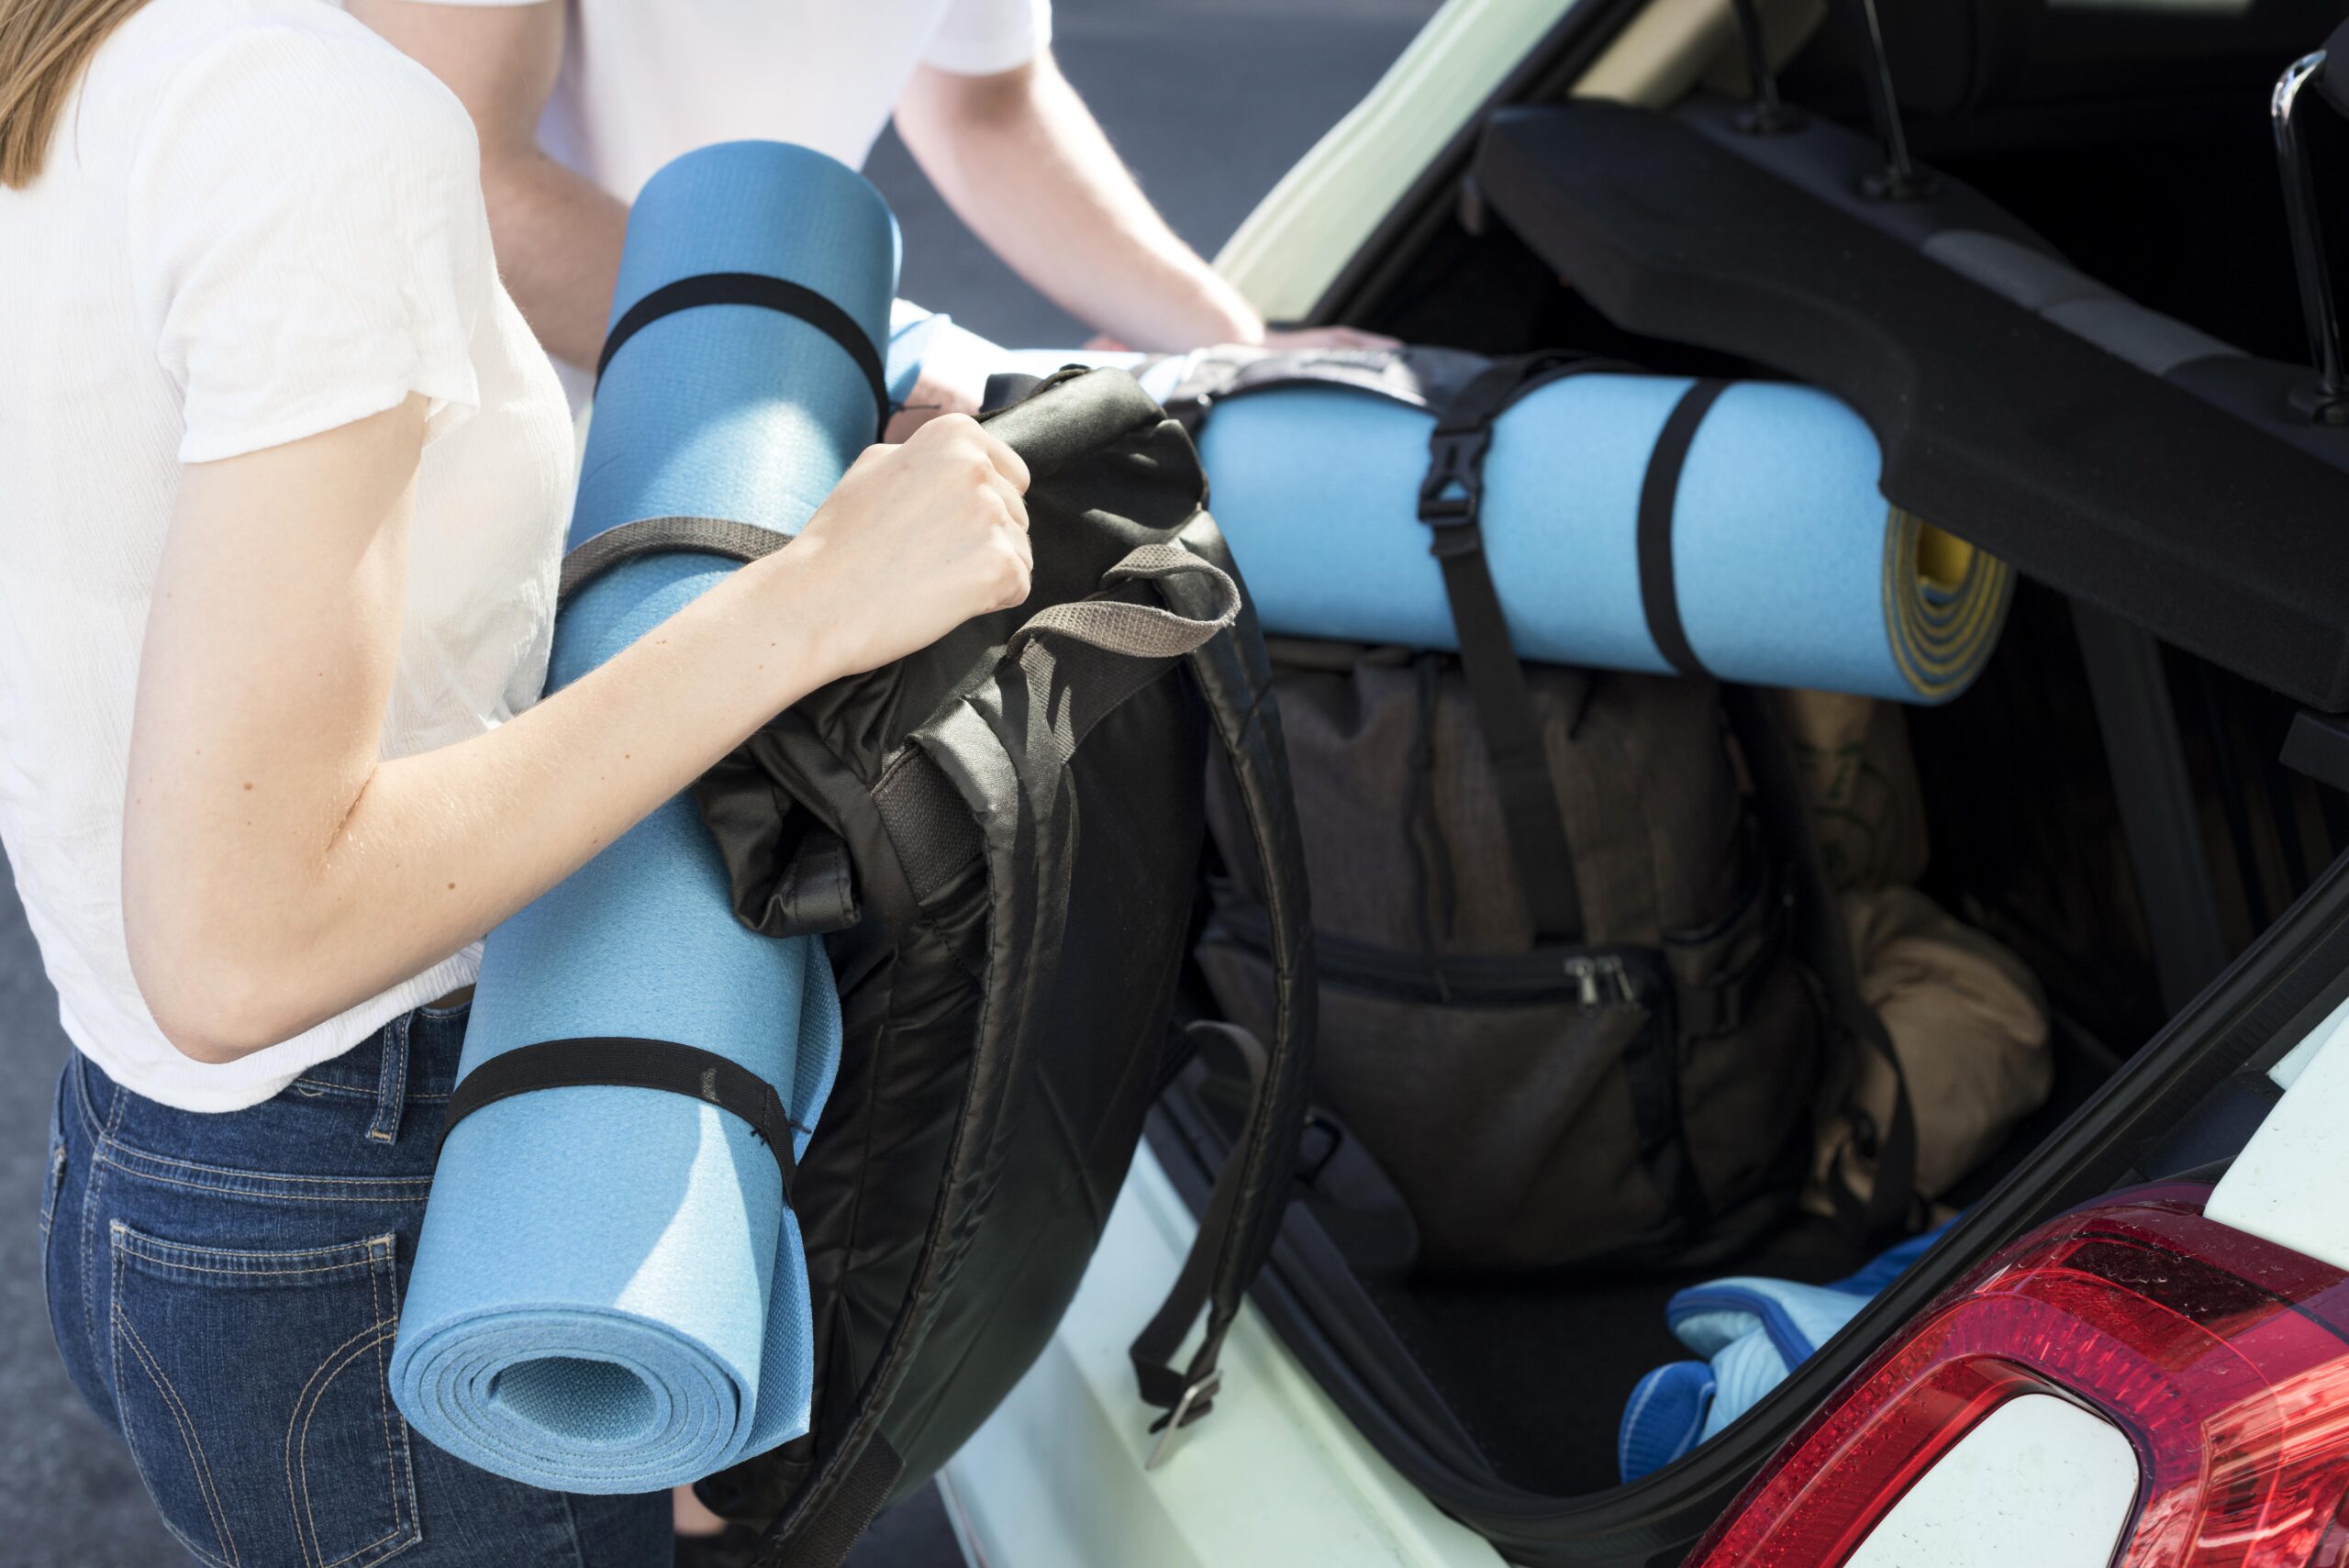
River gear is tough—it’s built to bounce off rocks and survive hydraulic pressure—but it is surprisingly fragile when it’s sitting still. Mold, mice, UV rays, and temperature fluctuations are the silent killers of rafts and drysuits. Proper storage isn’t just about being organized; it’s about protecting your investment. Whether you are a weekend warrior or someone who chases the world-class whitewater rafting seasons year after year, how you treat your gear in the winter determines how safe you’ll be on the water in the spring.
If you want your boat to hold air and your drysuit to keep you dry, here are six essential tips for bedding down your gear for the winter.
1. Ensure Everything is Clean and Dry
Before anything goes into a bin, it has to be clean. It can’t just look clean and dry, but it has to actually be microscopically clean and dry.
River water is full of organic matter, algae, bacteria, and silt. If you let that sit on your gear for four months, it will rot. Silt is particularly dangerous because it acts like sandpaper. If it gets into the threads of your frame bolts or the fabric of your life jacket, it will slowly grind away at the material.
Set up a station in your driveway. Use a mild, biodegradable soap (dish soap works well) and a soft-bristle brush to scrub everything. Once rinsed, the drying process is non-negotiable. Your gear must be bone-dry before you store it. If there is even a hint of moisture in the folds of your raft or the pocket of your life jacket, mold will grow. Once mold gets into the fabric of a raft, it can delaminate the material. Leave everything out in the shade for a full day, then flip it over and dry it for another day.
2. Master the “Burrito Roll” for Your Boat
The biggest question every rafter faces is what to do with the boat. In a perfect world, you would store your raft semi-inflated in a climate-controlled room. This prevents deep creases from forming in the fabric, which can become weak points over time.
However, most of us don’t have a spare heated room large enough for a 14-foot raft. If you have to roll it, do it strategically. Don’t fold it like a piece of paper with sharp, hard creases. Roll it loosely, like a burrito. This reduces stress on the material.
Before you roll it, apply a coat of UV protectant (like 303 Aerospace Protectant). This conditions the material and keeps it supple during the cold months. Finally, consider storing the rolled boat inside a large, heavy-duty plastic bin or a specialized boat bag that seals tightly to keep rodents out. Mice love nesting in rafts and will chew right through the rubber to make a home.
3. Stop Crushing Your Soft Goods
Your PFD (Personal Flotation Device) is a life-saving device, not a cushion. Storing it improperly can actually ruin its buoyancy.
Do not crush your life jackets into the bottom of a tote bin under 50 pounds of other gear. Compressing the foam cells over a long winter can permanently reduce their ability to float. The best way to store a PFD is on a hanger in a closet. This allows air to circulate and keeps the foam in its original shape. While you are at it, inspect your helmets. Look for cracks in the shell or damage to the foam liner, and store them on a shelf where they won’t be knocked onto a concrete floor.
4. Pamper Your Drysuit Gaskets
If you own a drysuit or a dry top, you know it’s likely the most expensive piece of clothing you own. You also know that the latex gaskets at the neck and wrists are the Achilles’ heel.
Latex is natural rubber, and it breaks down over time. Oils from your skin, ozone in the air, and UV light all attack it. Before storing, wash the suit with a specialized technical fabric cleaner. Once dry, treat the latex gaskets with a silicone grease or a specialized preservative.
Don’t forget the zipper. The waterproof zipper is the most critical mechanical part of the suit. Clean the teeth with a toothbrush to remove sand and grit, then apply zipper wax to keep it moving smoothly. Hang the suit by the waist (not the shoulders, which stretches the fabric) or loosely roll it. Never store it near a furnace or electric motor, as the ozone generated by electric motors eats latex.
5. Disassemble Your Frame
Metal frames seem indestructible, but they have enemies too: corrosion and seizing. If you have a breakdown frame, take it apart. The friction between the joints, combined with residual grit and water, can cause the aluminum pieces to cold-weld or corrode together over the winter. When you try to take it apart next spring, it will be stuck fast.
Wipe down the connecting points with a rag and a little bit of lubricant (like WD-40 or a silicone spray) before storing them. For your oars, store them vertically or on a wall rack. If they are wooden, check the varnish. If they are composite, check the blades for cracks. Storing them off the ground prevents them from getting stepped on or warped.
6. Create a Repair List Now
Once everything is clean, dry, and packed, take a quick inventory. Did you break a strap last season? Is your patch kit dried out? Is your throw-bag rope looking frayed?
The best gift you can give your future self is a repair list taped to the top of your gear bin. That way, when the spring thaw hits and the river starts calling, you aren’t scrambling to order parts or discovering a broken buckle at the put-in. You’re just grabbing your gear, loading the truck, and heading for the water.